ODOO'S FUNCTION
In Odoo, creating a new employee automatically generates a Work Contact, which is used for financial transactions:
- Expense reports use the Work Contact as the vendor address.
- Payslip journal items assign the Work Contact as the partner.
- Bank accounts added under Private Information are linked to the Work Contact.
Downside: Since the Work Contact is tied to the company, it mixes personal and work-related financial details, making it harder to separate employee payments from company records.
CLUEDOO'S FUNCTION
CLuedoo introduces a Private Contact for employees to keep personal and work-related information separate:
1️⃣ Expense reports now use the Private Contact as the vendor address.
2️⃣ Payslip journal items assign the Private Contact as the partner.
3️⃣ Bank accounts added under Private Information are linked to the Private Contact and can be used as the recipient bank for expenses.
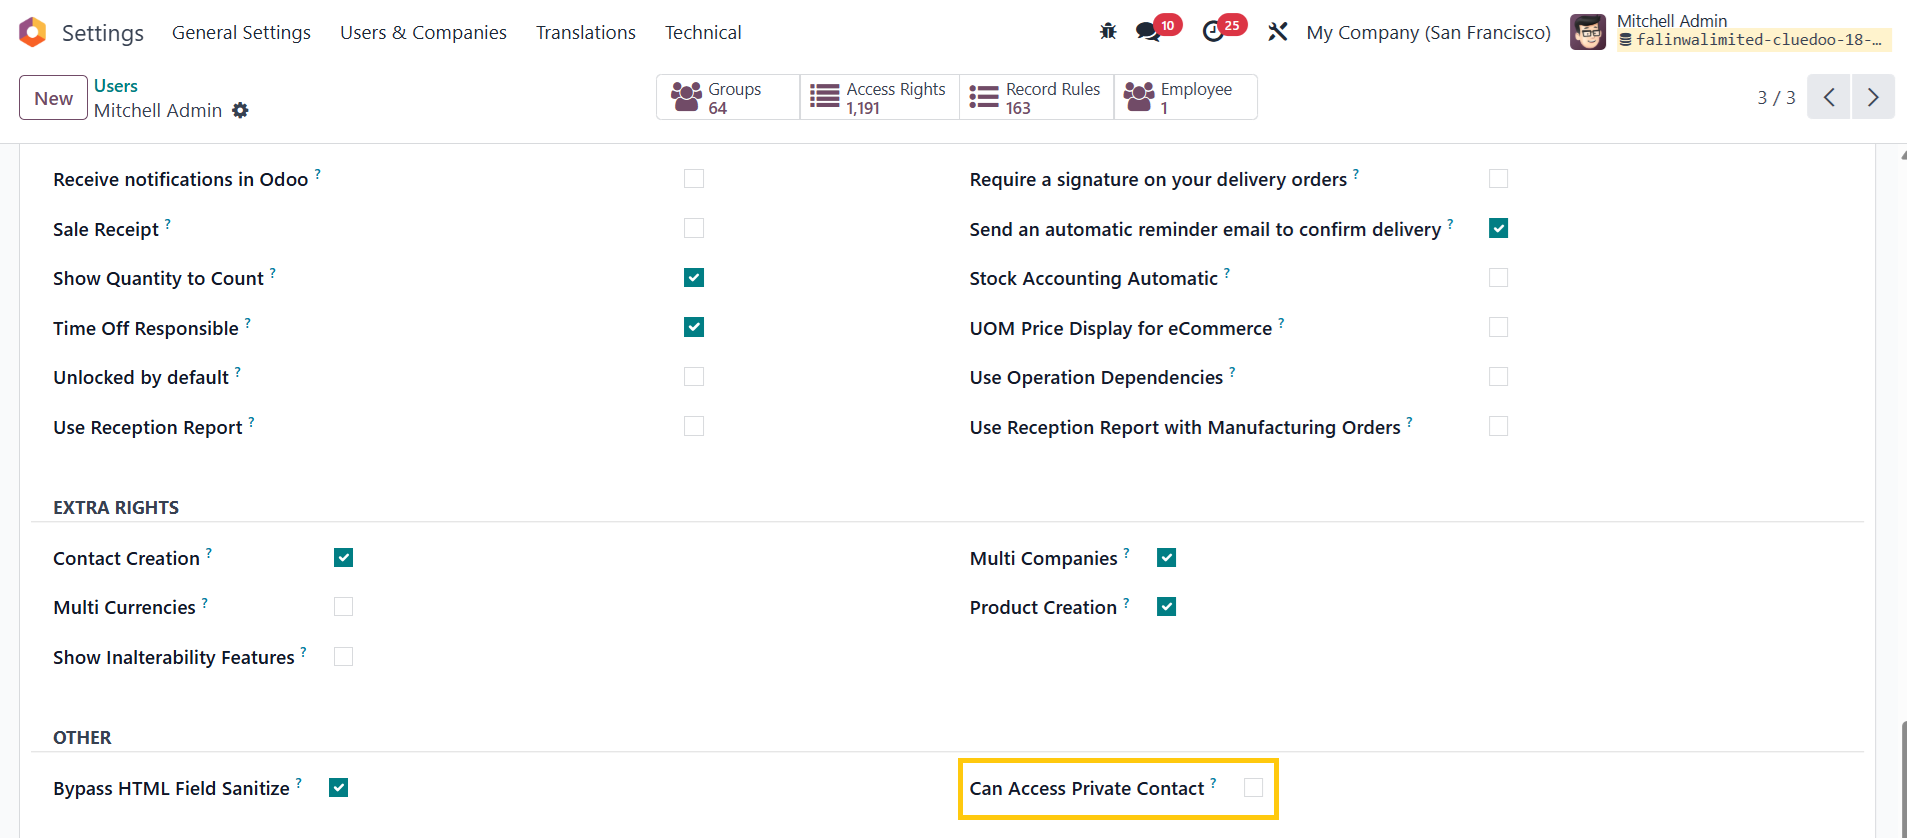
4️⃣ Add the Can Access Private Contact checkbox in User Settings to manage access and configuration for Private Contacts. Besides, a Private Contacts Menu is developed, allowing viewing and managing all created private contacts
This ensures better financial separation and prevents company records from being cluttered with employee personal details.
AUTO CREATE PRIVATE CONTACT1. Go to Employees and create a new one > Save | 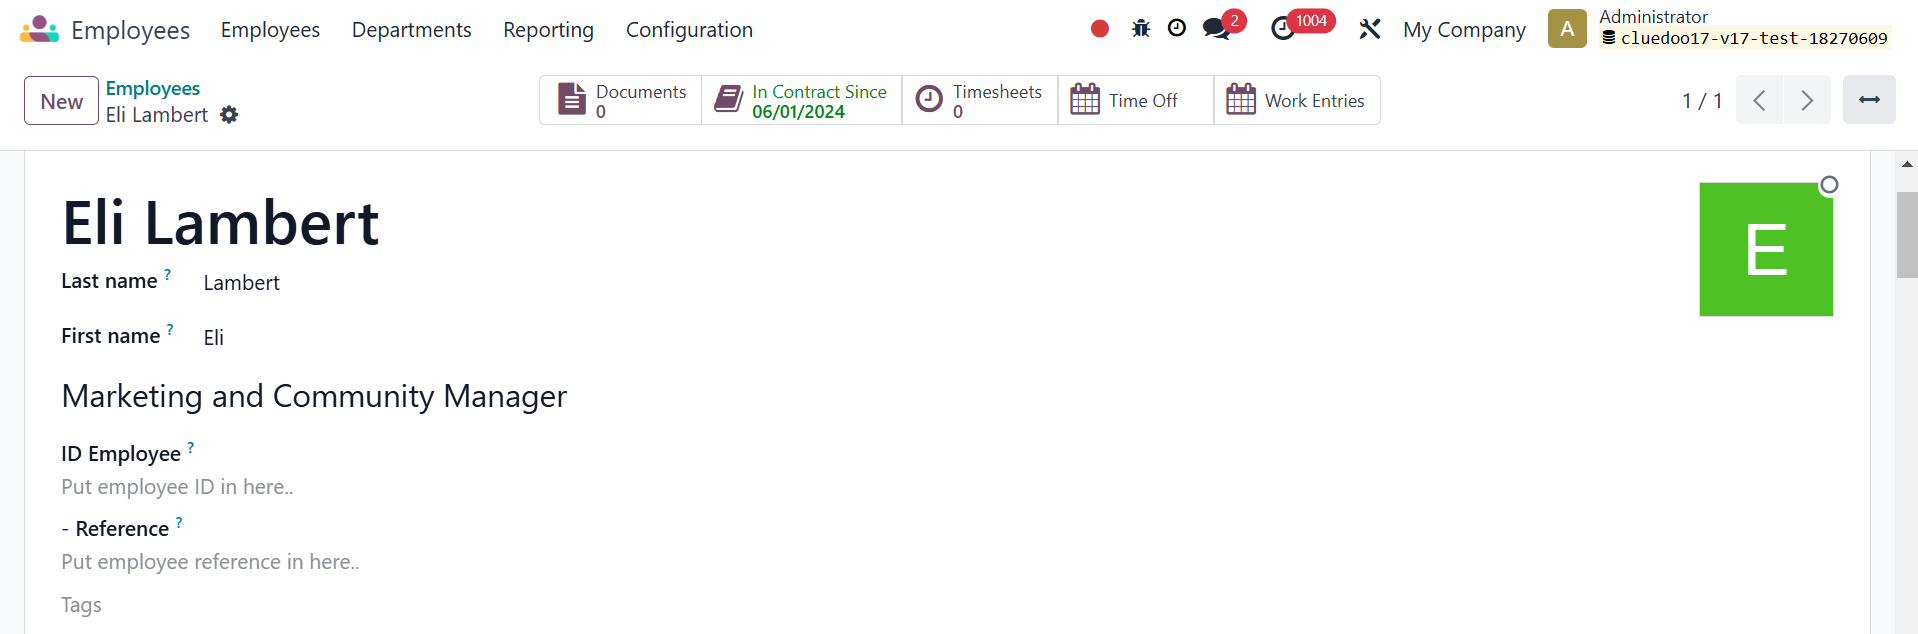 |
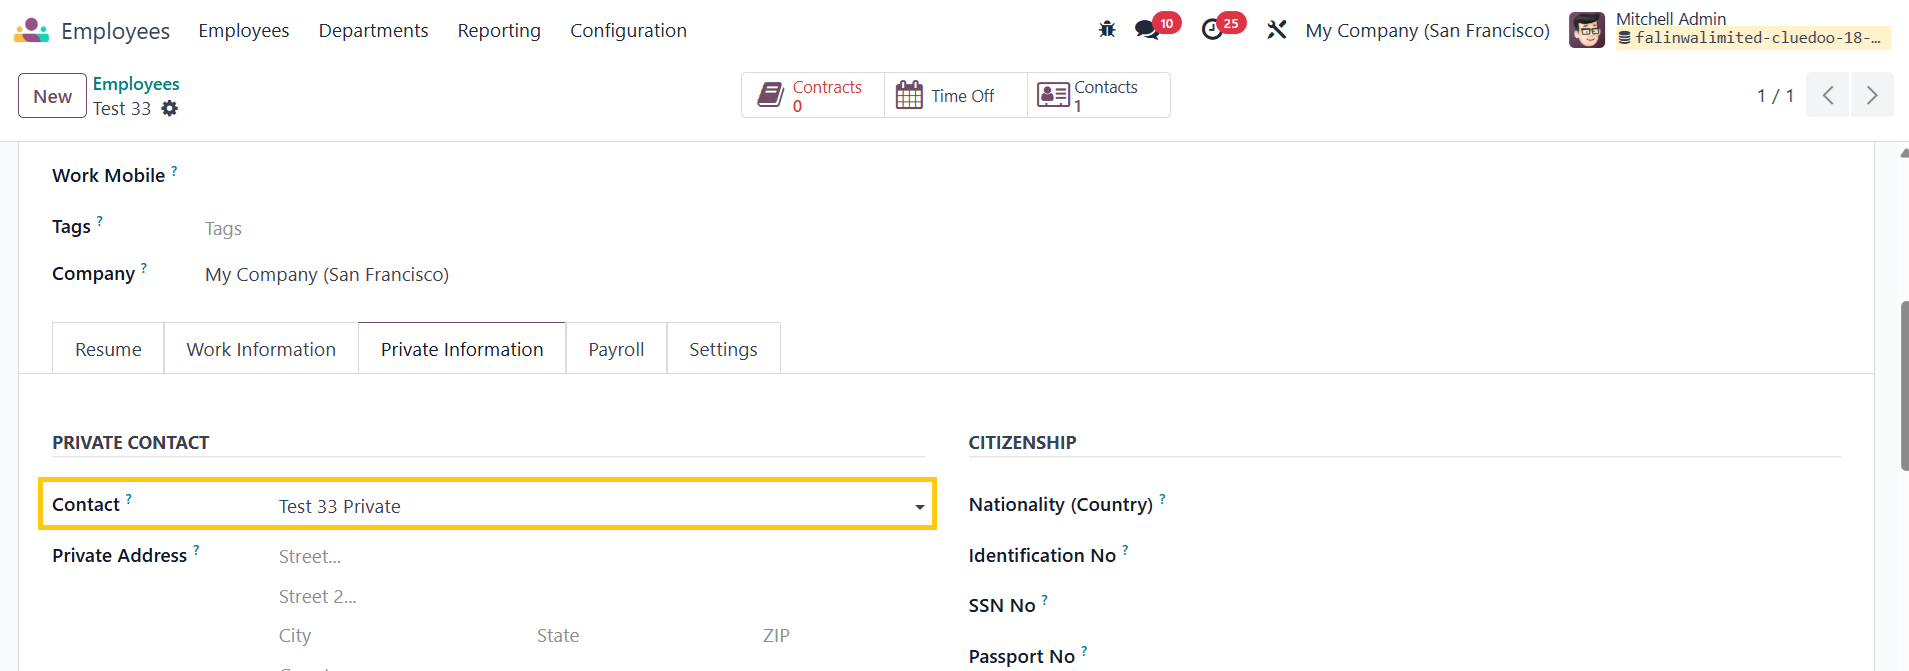
2. Under Private Information > Private Contact > A new Contact has been created Note: In v19, the tab changes to Personal | 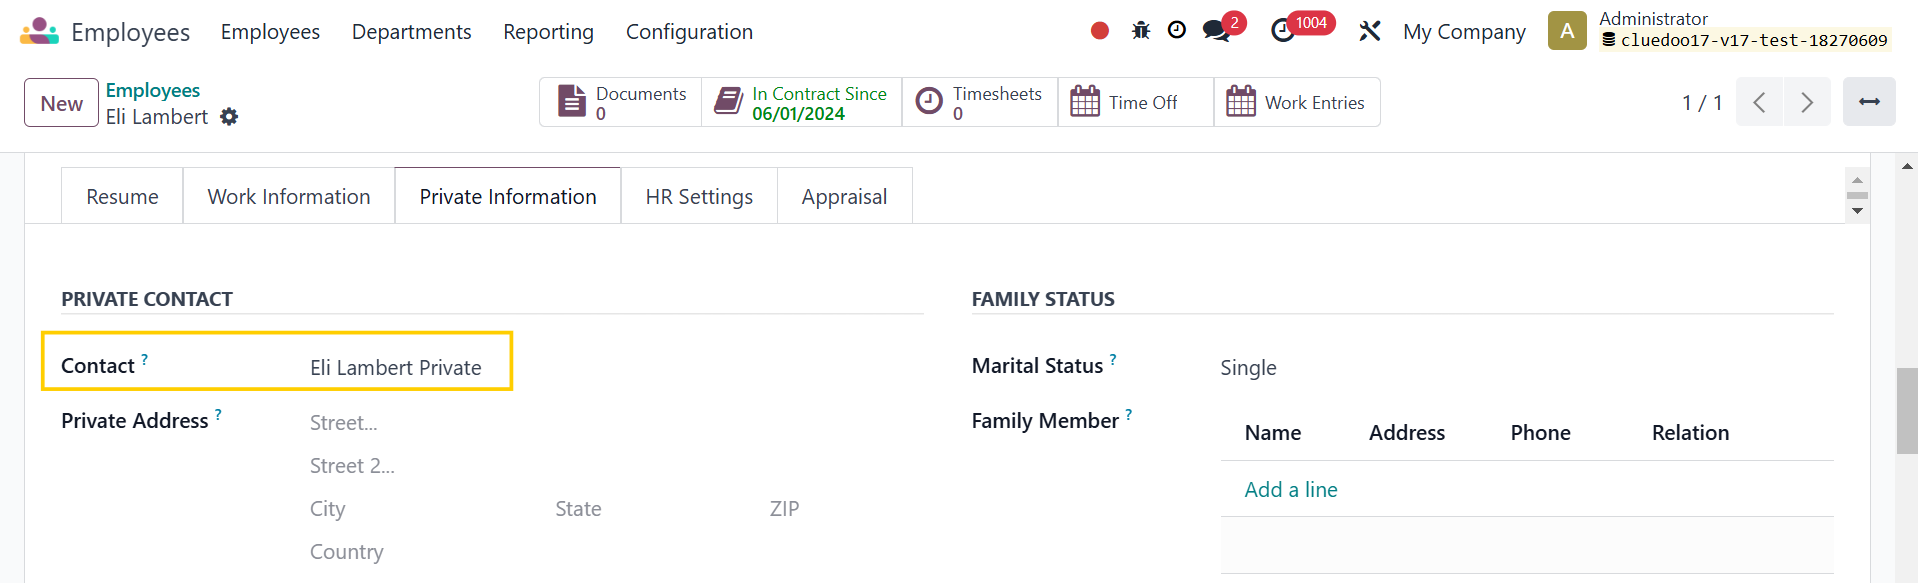 |
PRIVATE CONTACT AS PARTNER IN EXPENSES/PAYROLLFill in the address in the Private Contact | 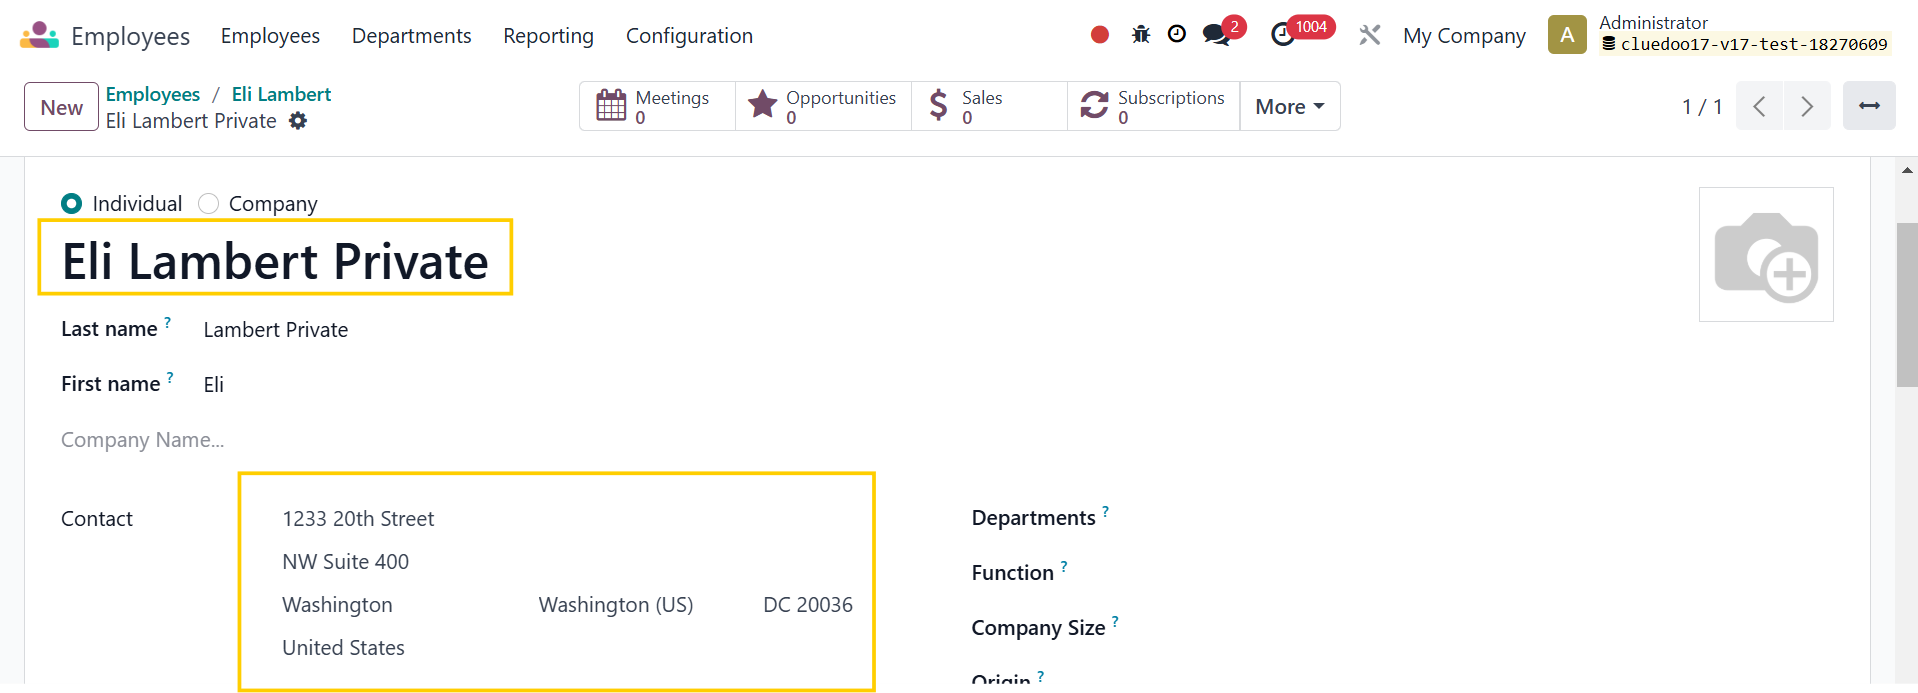 |
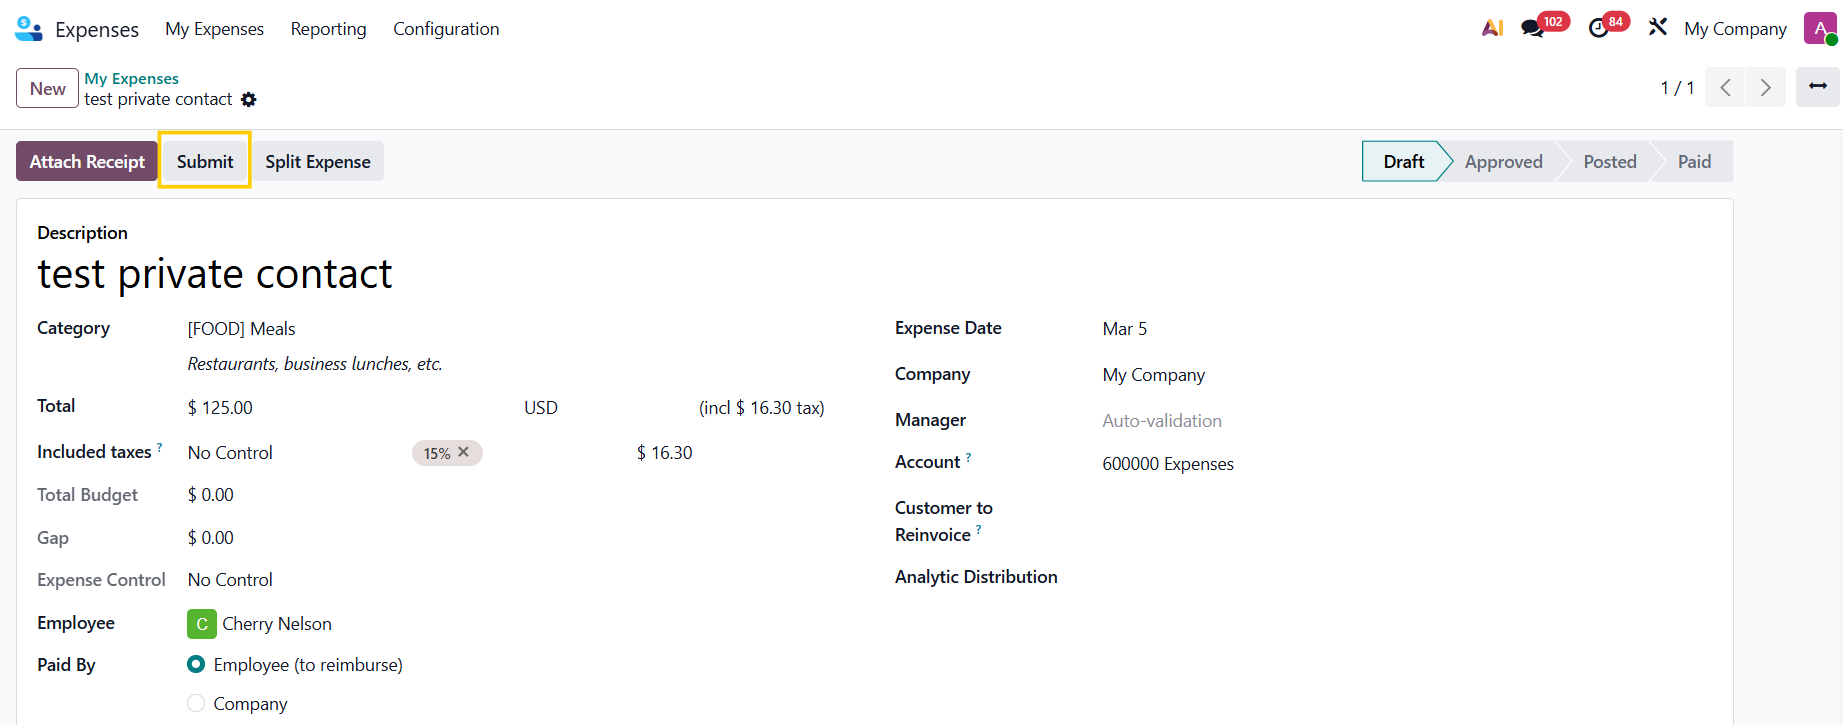
A. EXPENSES1. Go to Expenses > My Expenses > New and create a new expense > Fill in the necessary information > Submit to Manager | 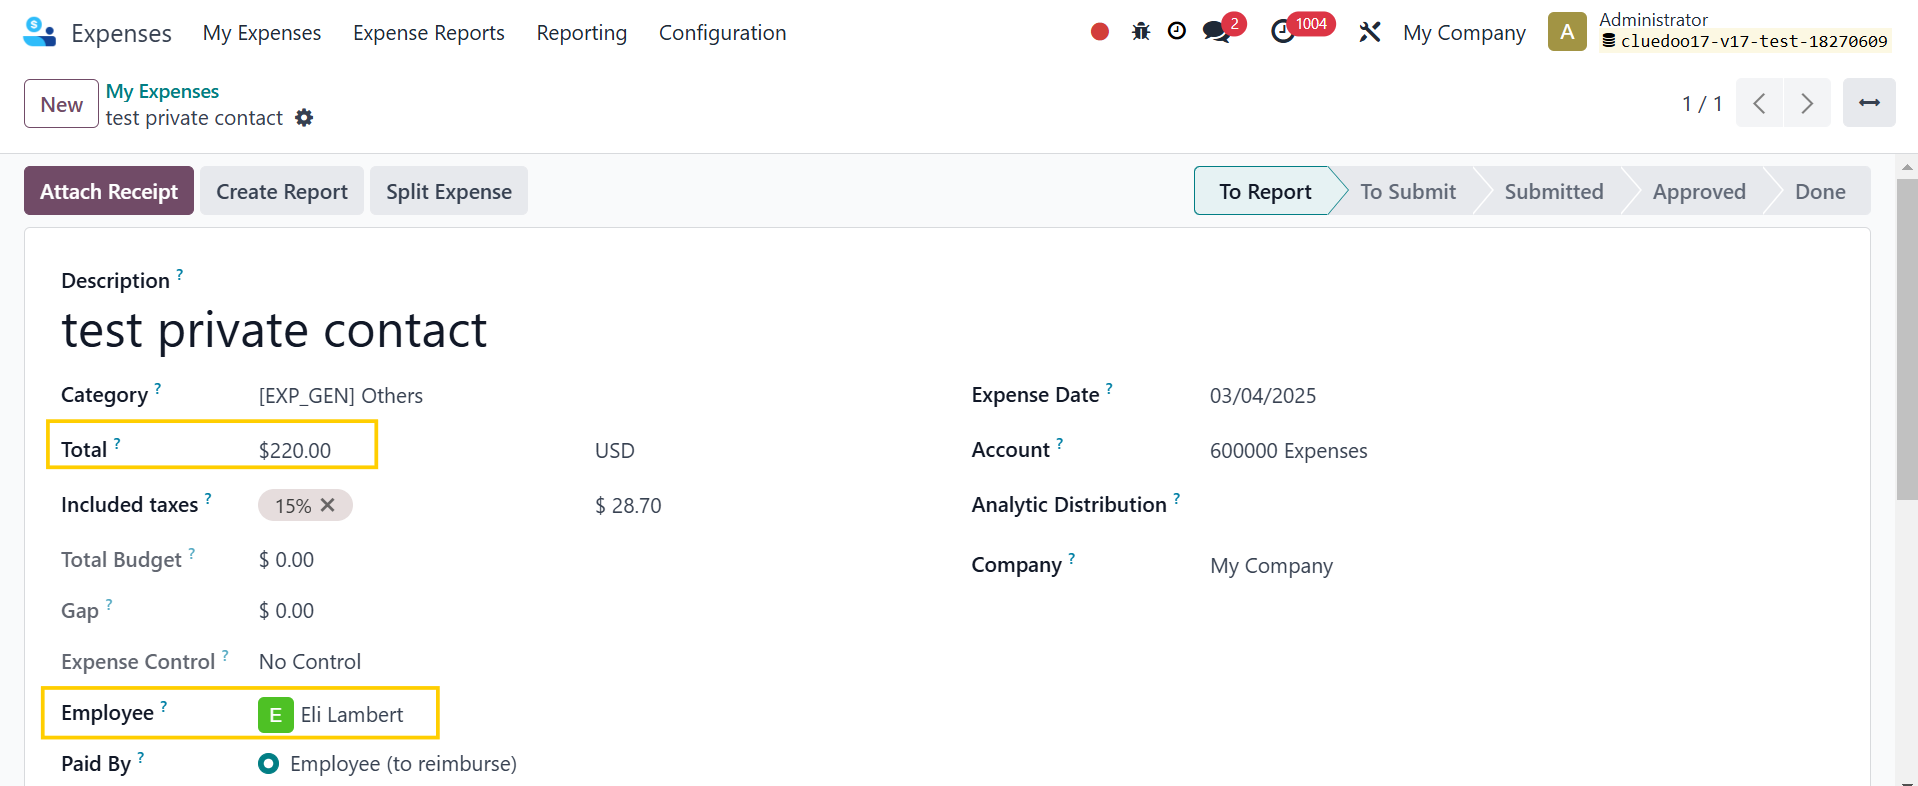 |
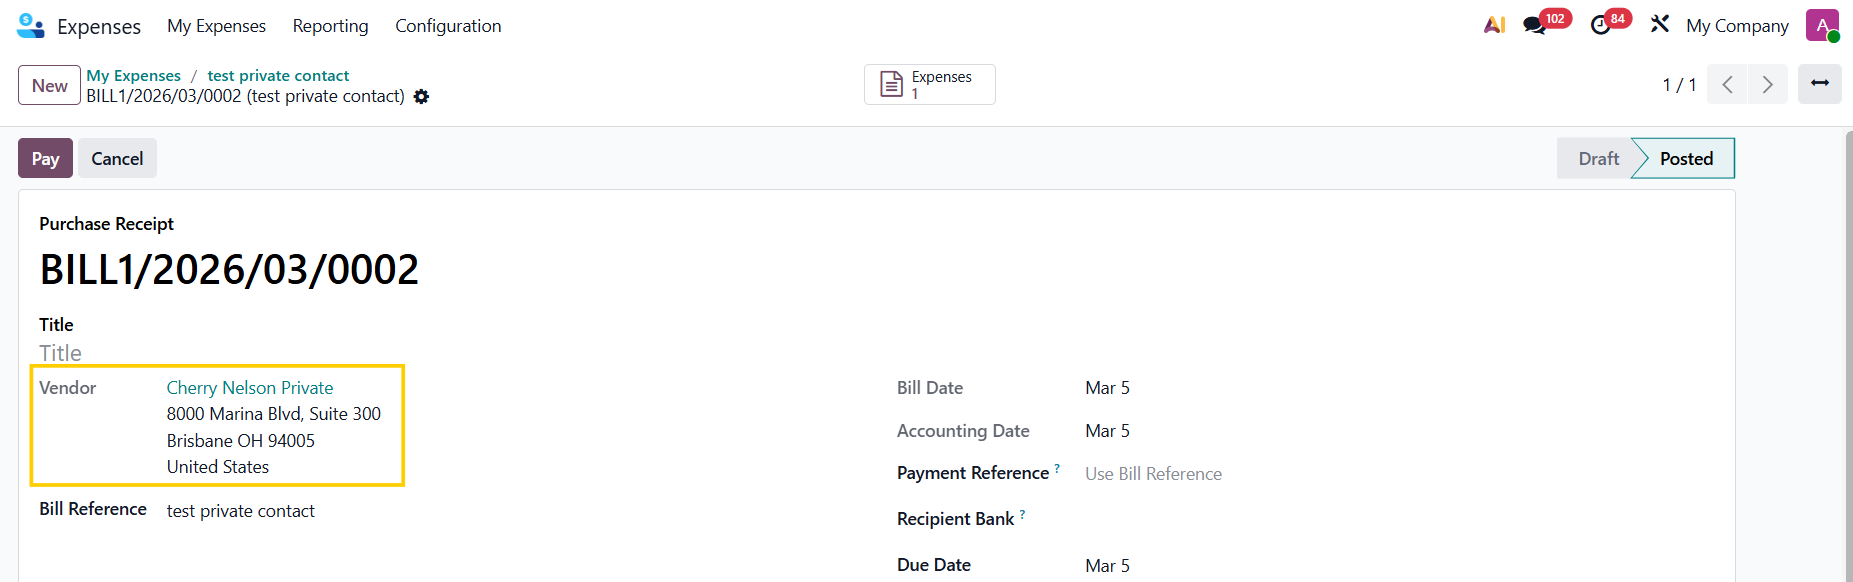
2. After the report has been approved and the journal entries have been posted, you can check that the address in the Vendor Bill has been changed from Work Contact to the employee's private address, ensuring clarity and accuracy. | 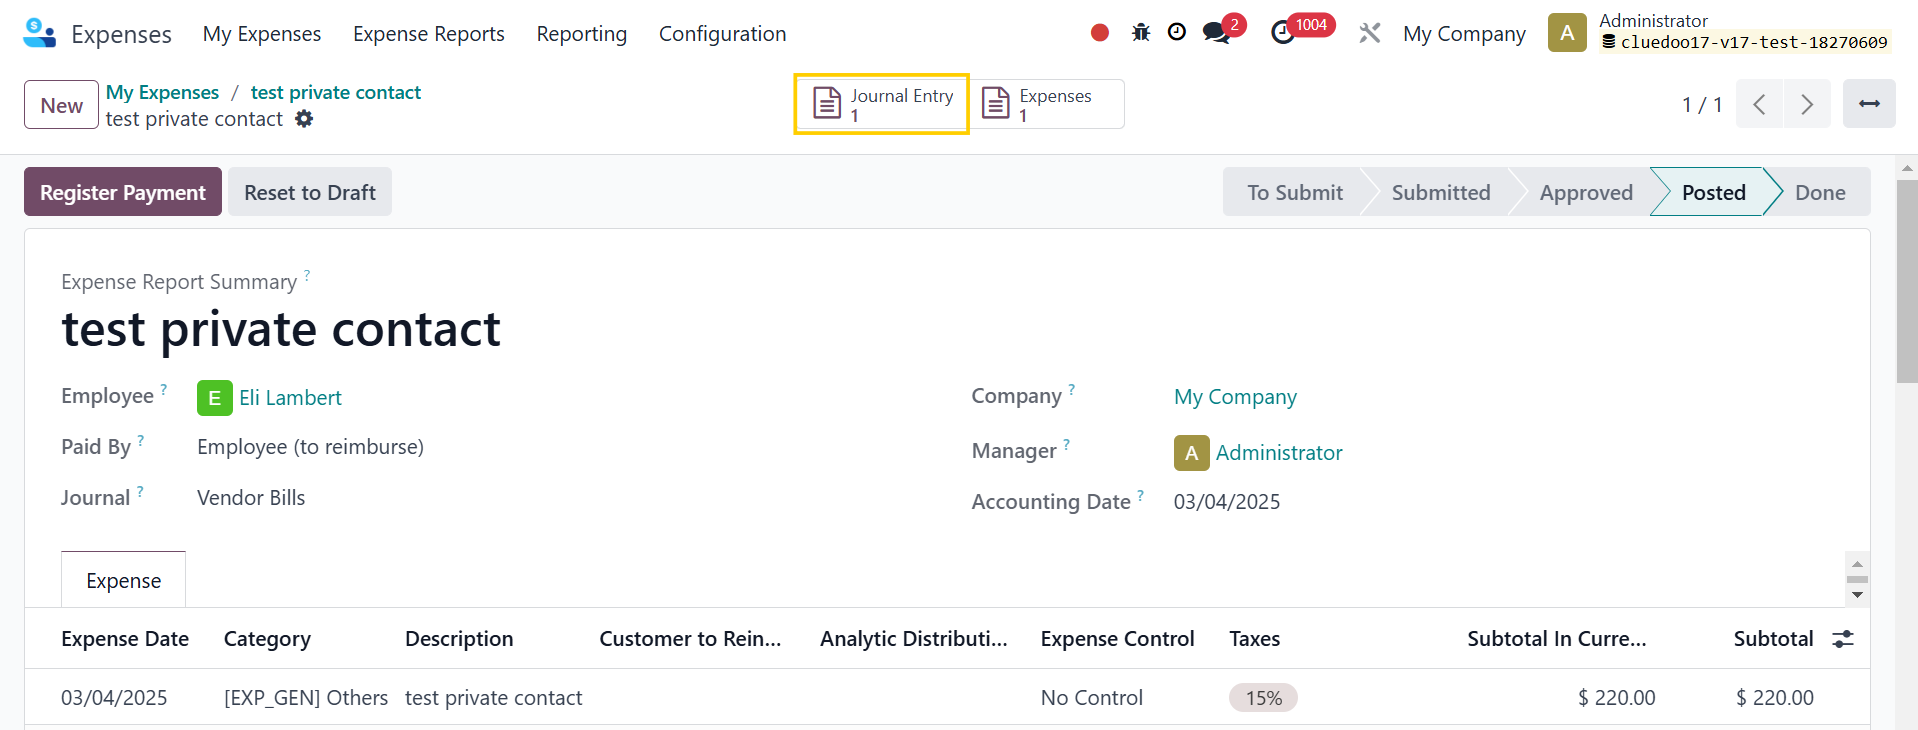 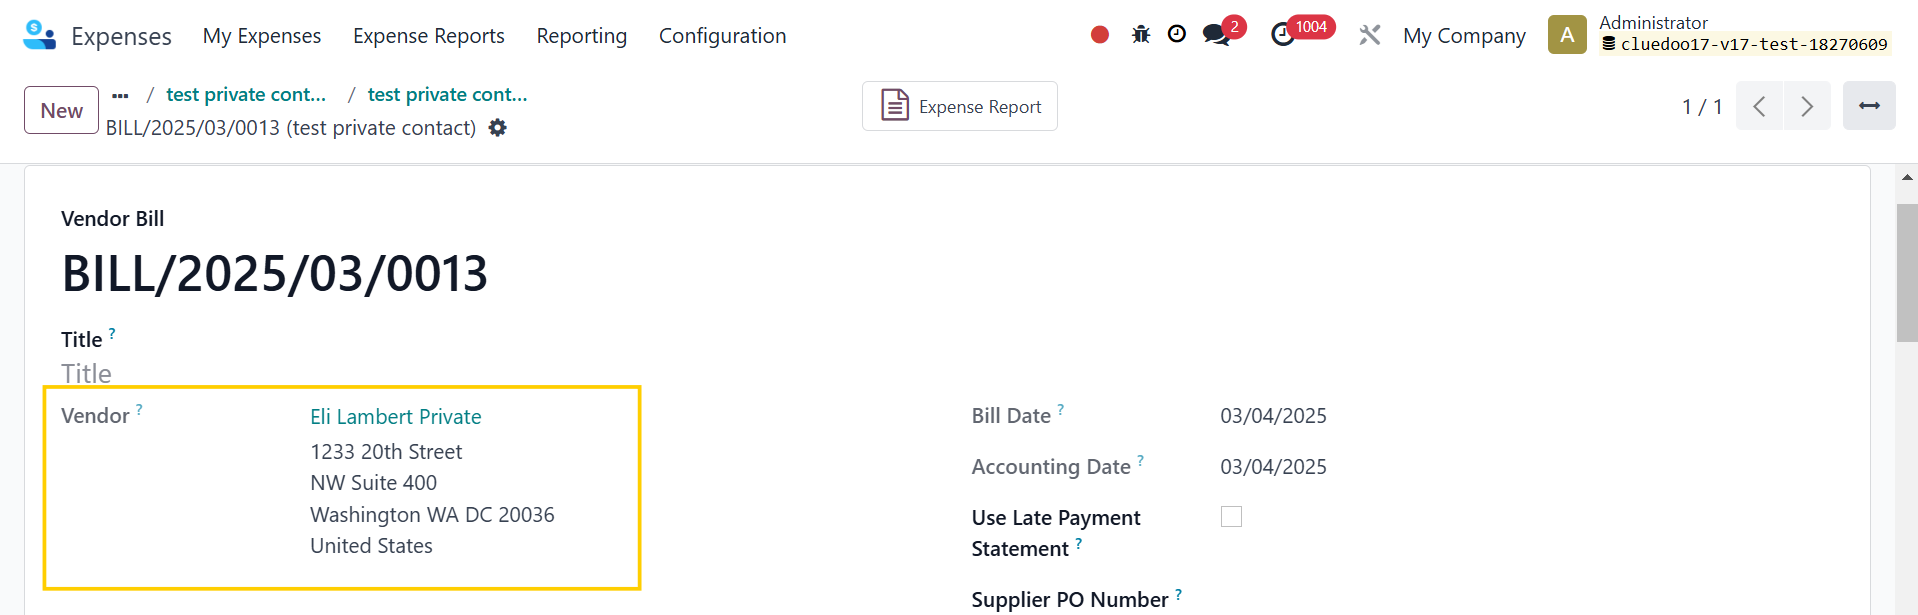 |
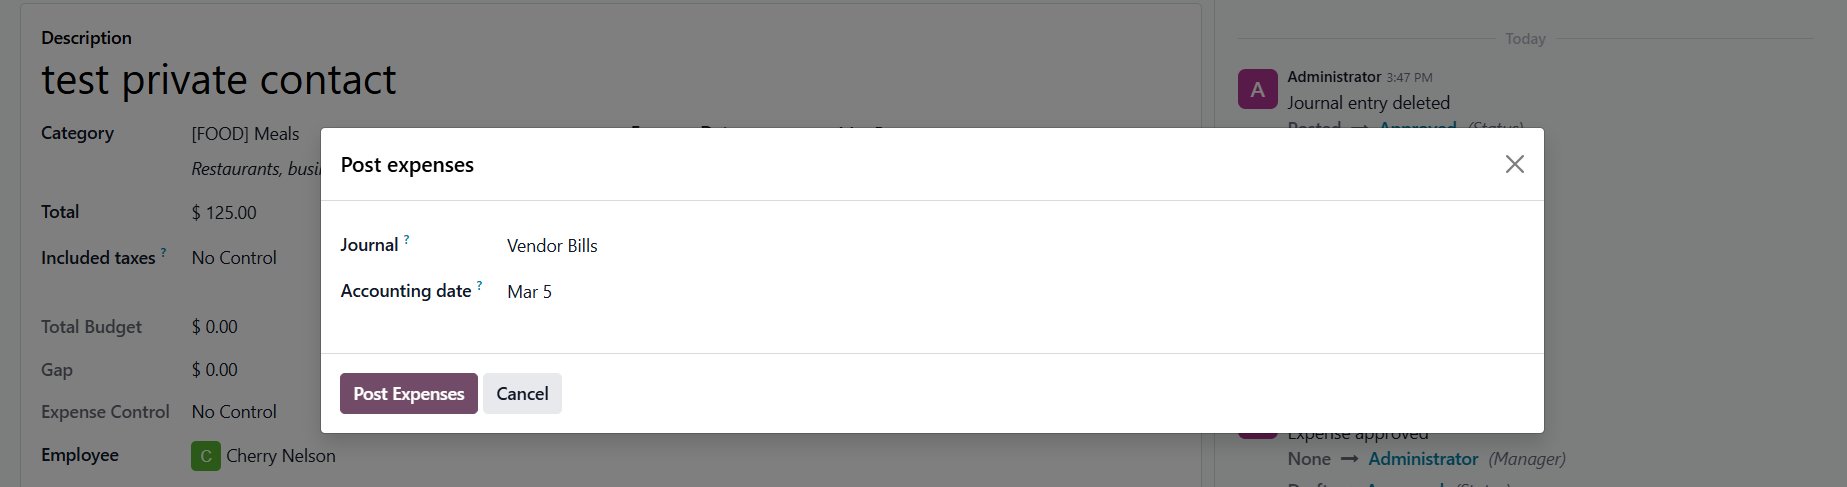
Note: since v19, Odoo has removed the Expense Report. After the expense is created > Submit > Post Journal Entries > Post Expenses |
|
The vendor address will be the private address. |
|
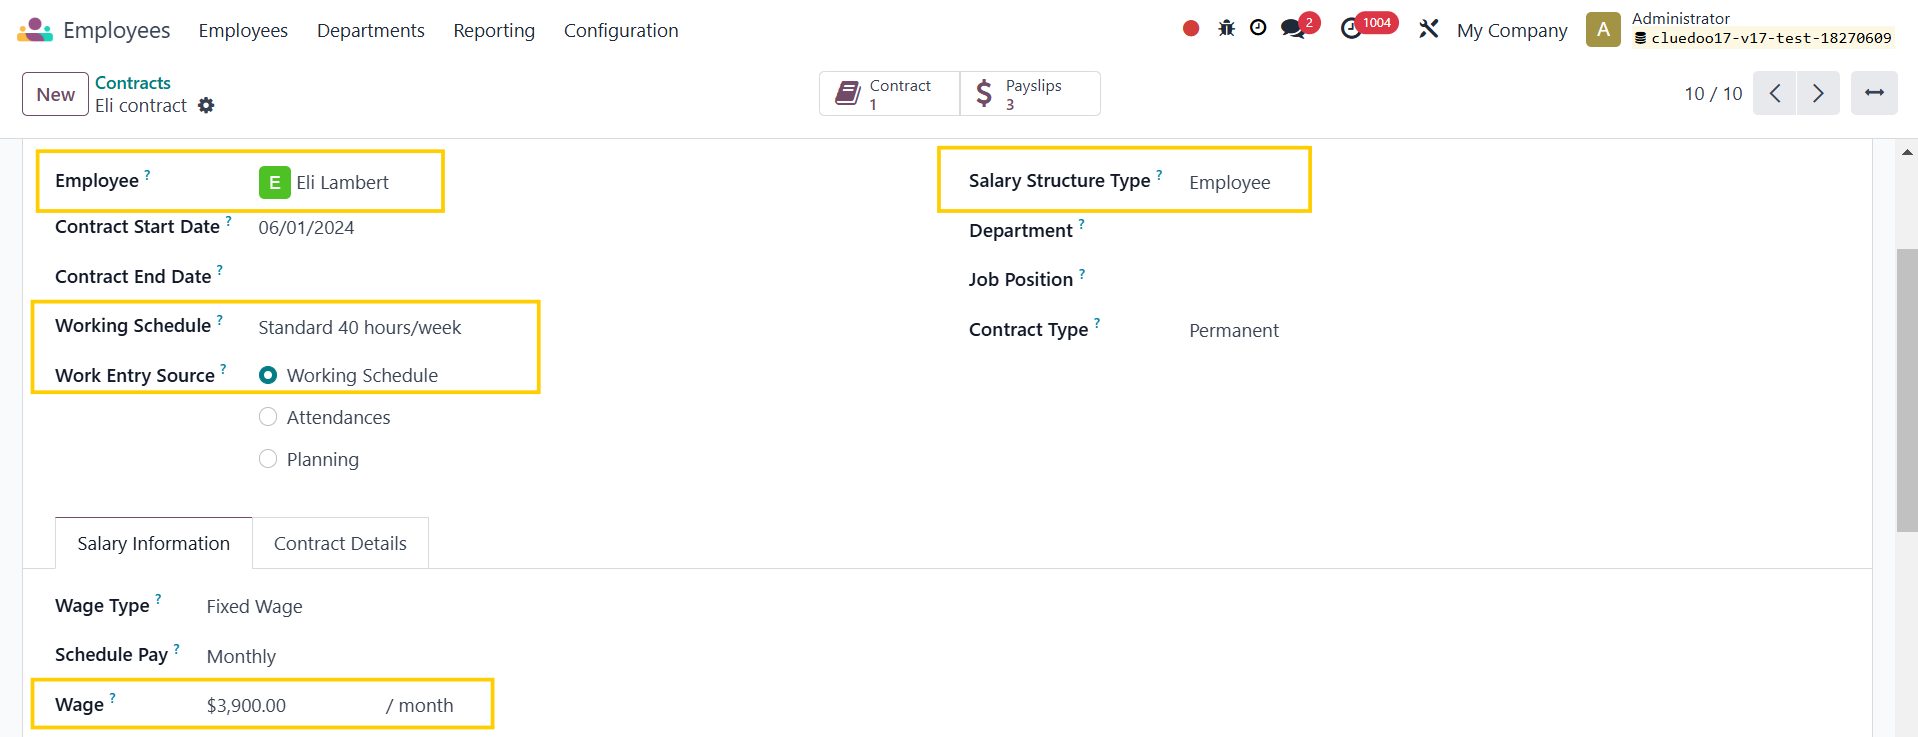
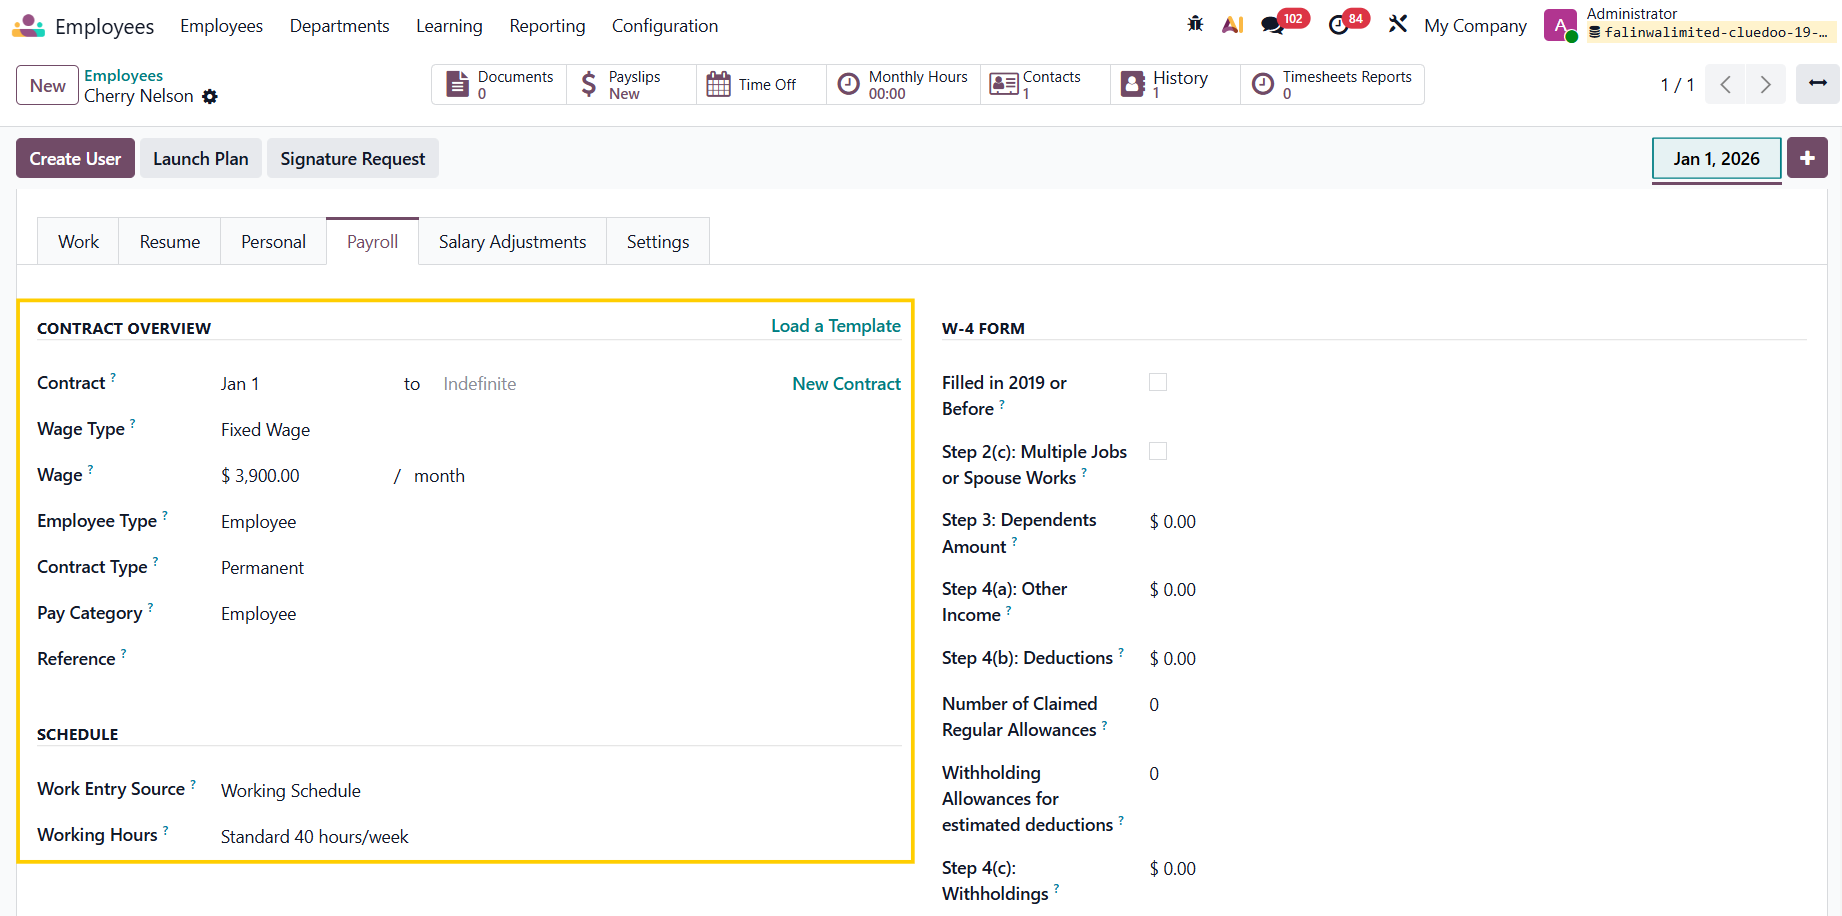
B. PAYROLL1. Go to Payroll > Contracts to set up a contract for the employee |
|
Note: since v19, set the contract under the Payroll tab in Employees |
|
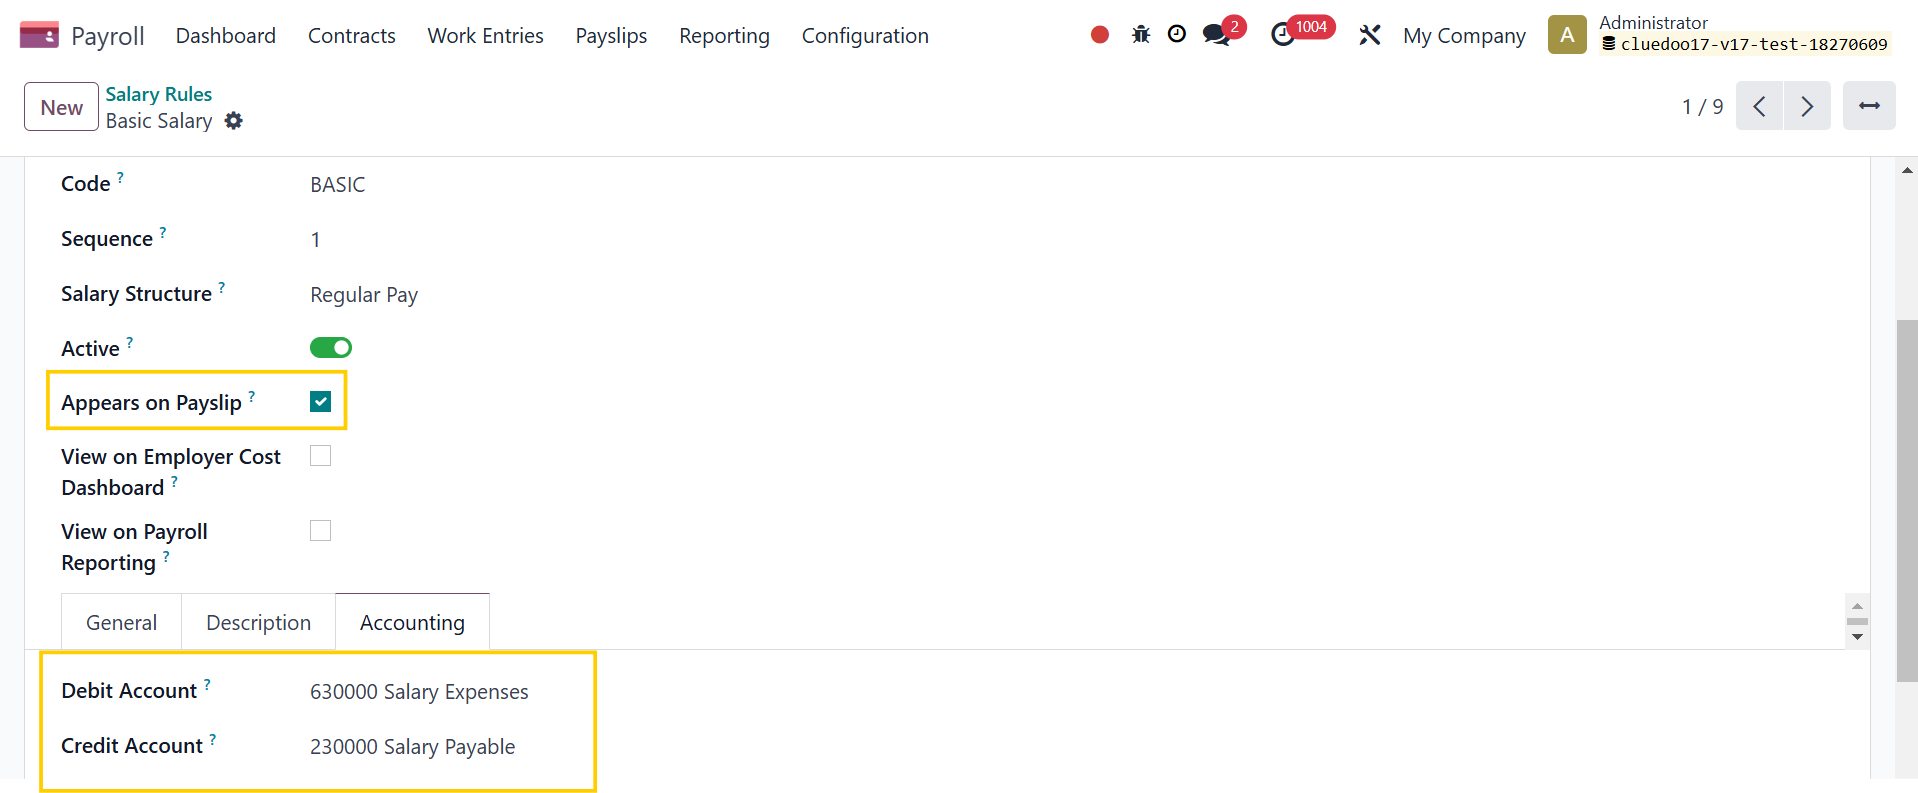
2. Go to Payroll > Configuration > Salary > Rules and make sure you have already set the rules for Basic Salary |
|
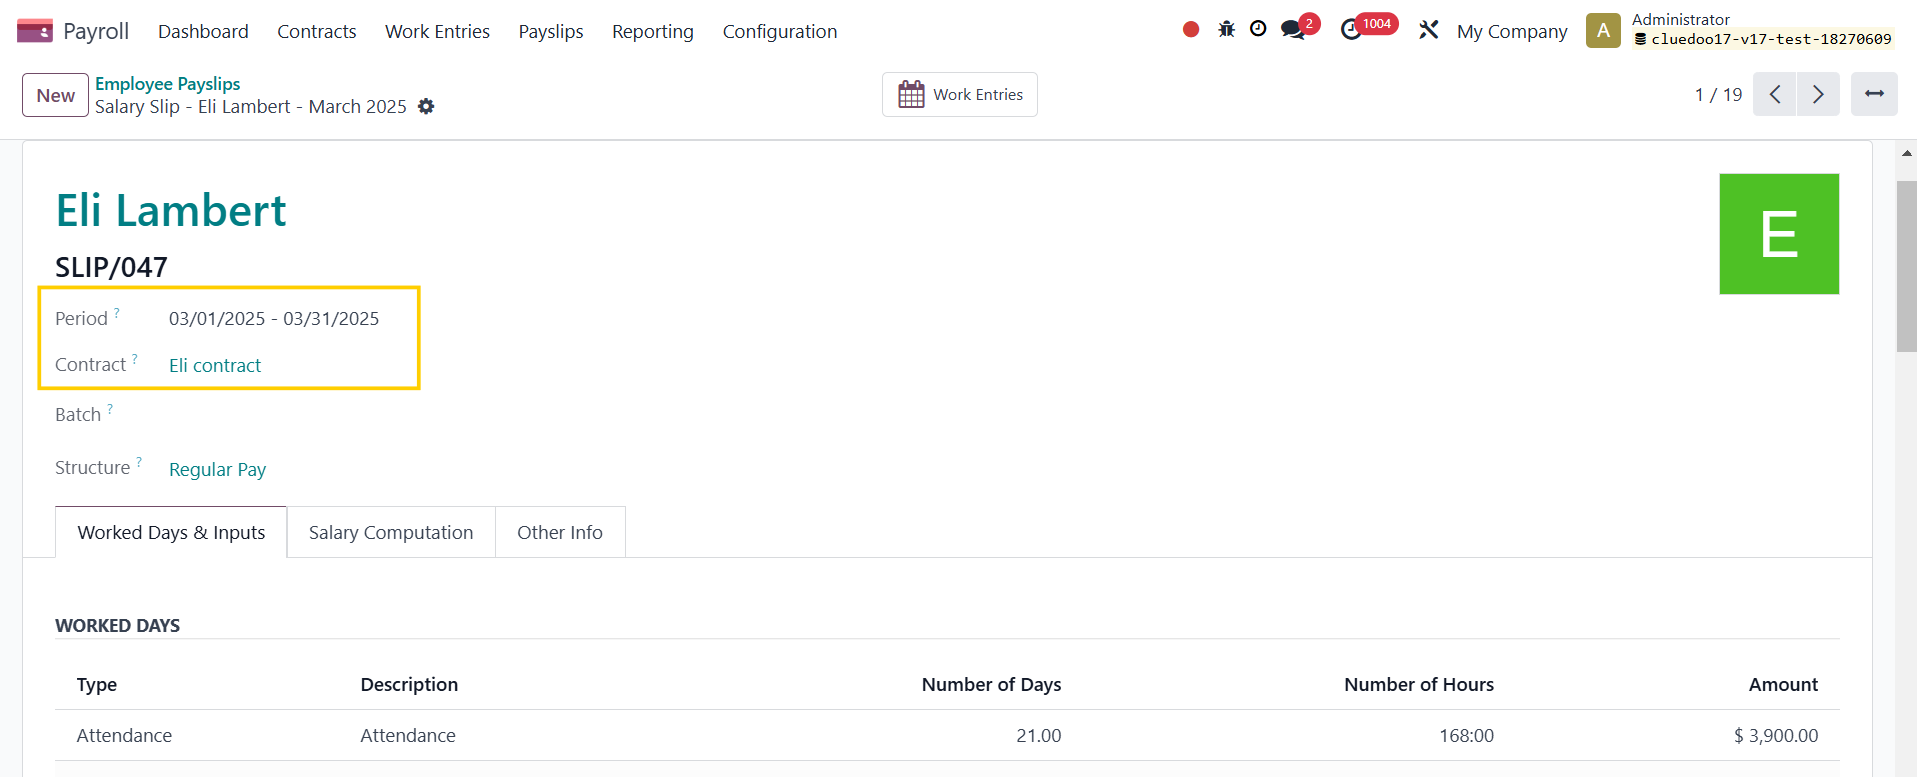
3. Go to Payslips > Payslips to pay > New > Fill in the necessary information > Compute Sheet > Create Draft Entry > A payslip has been created with draft entries for the period |
|
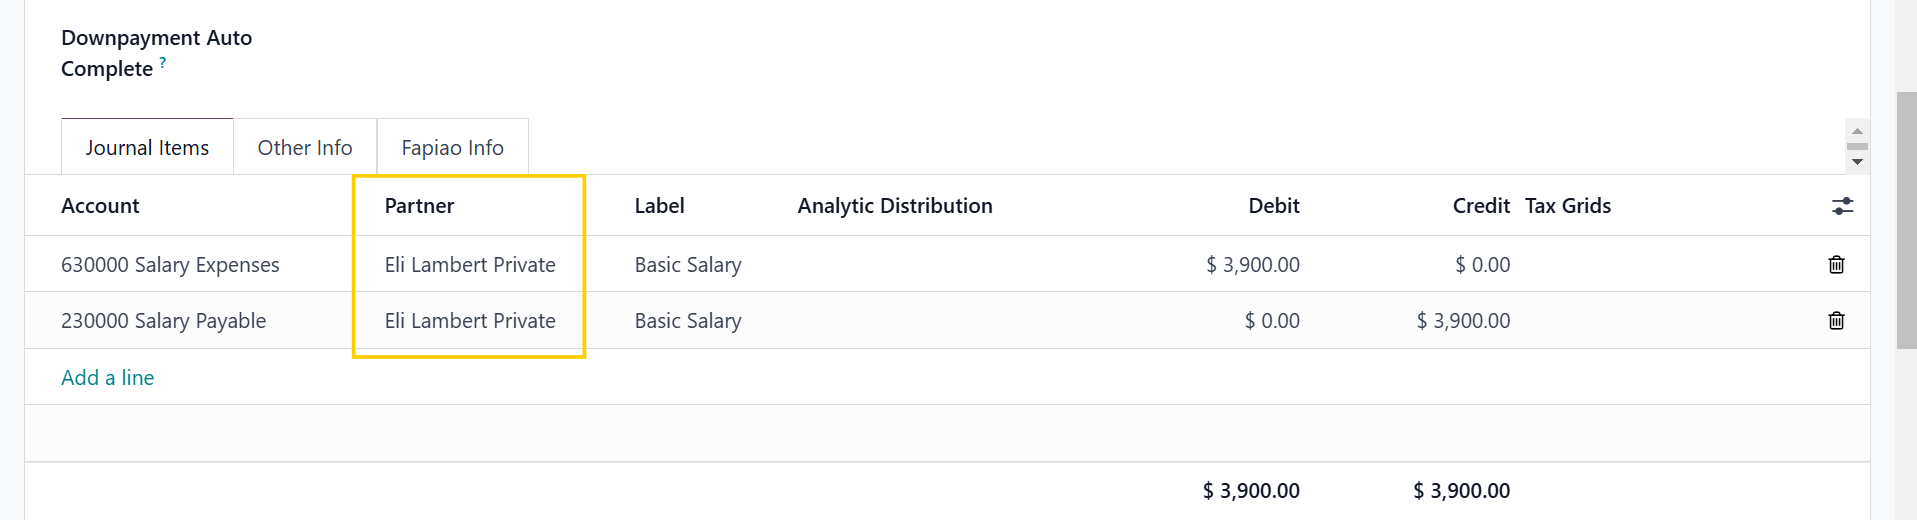
Click Other Info > Accounting Entry to view the draft entries |
|
In Journal Items, the Partner has been changed from Work Contact to the employee's private contact |
|
Note: Since v18, the draft entry will be shown in the smart button |
|
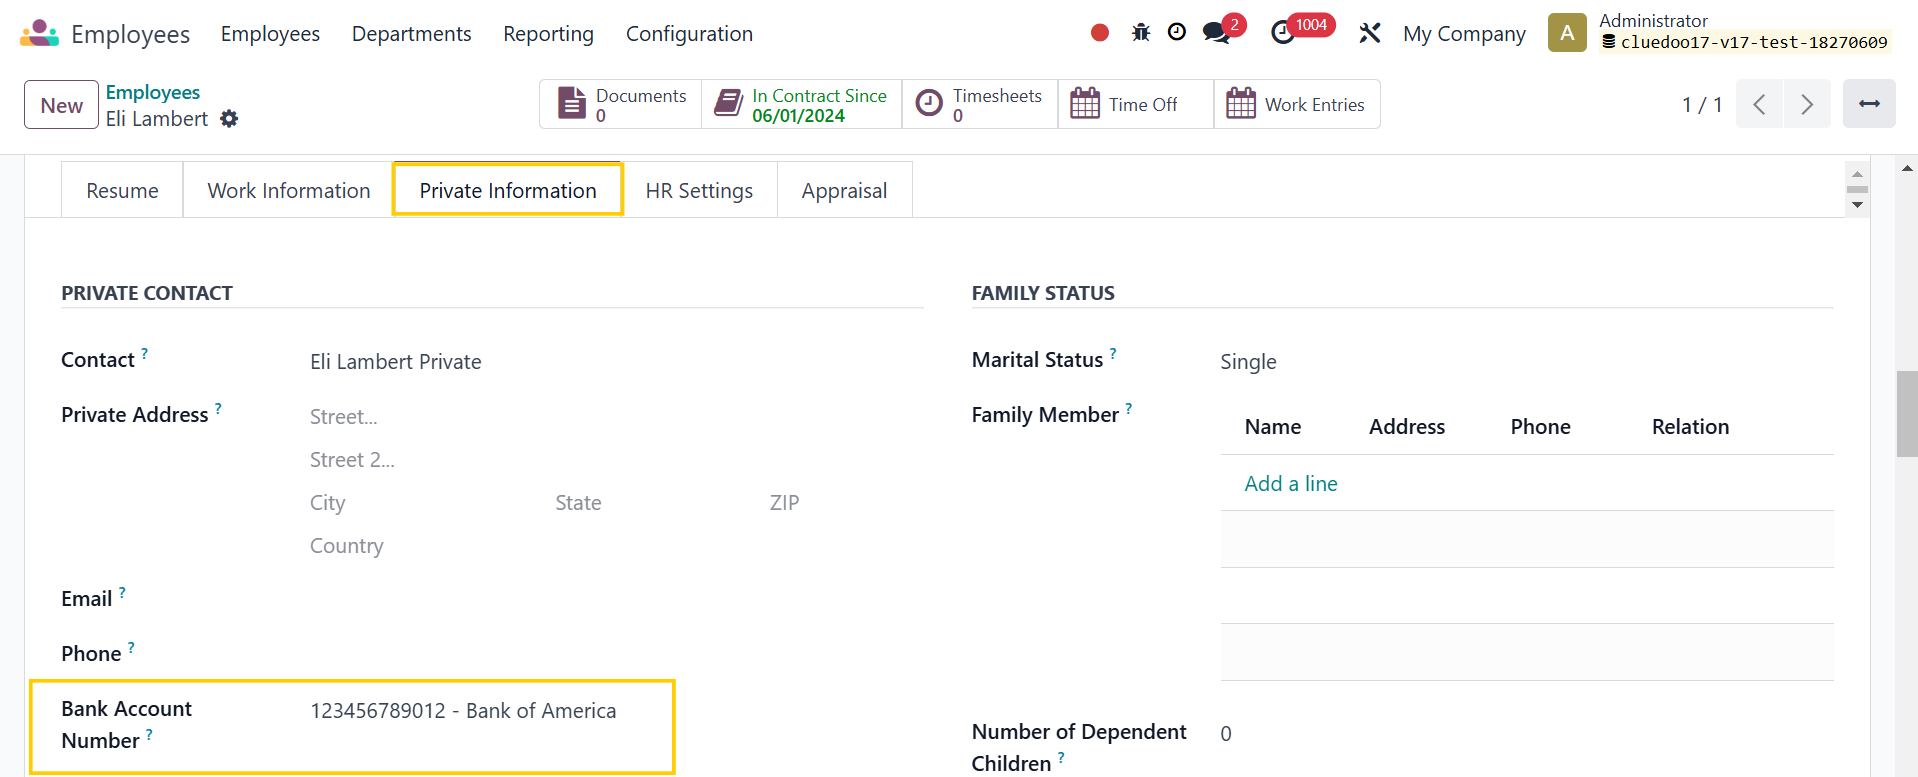
C. BANK ACCOUNTHead back to Employees > Private Information > Add a Bank Account Number Note: since v19, it is under the Personal tab |
|
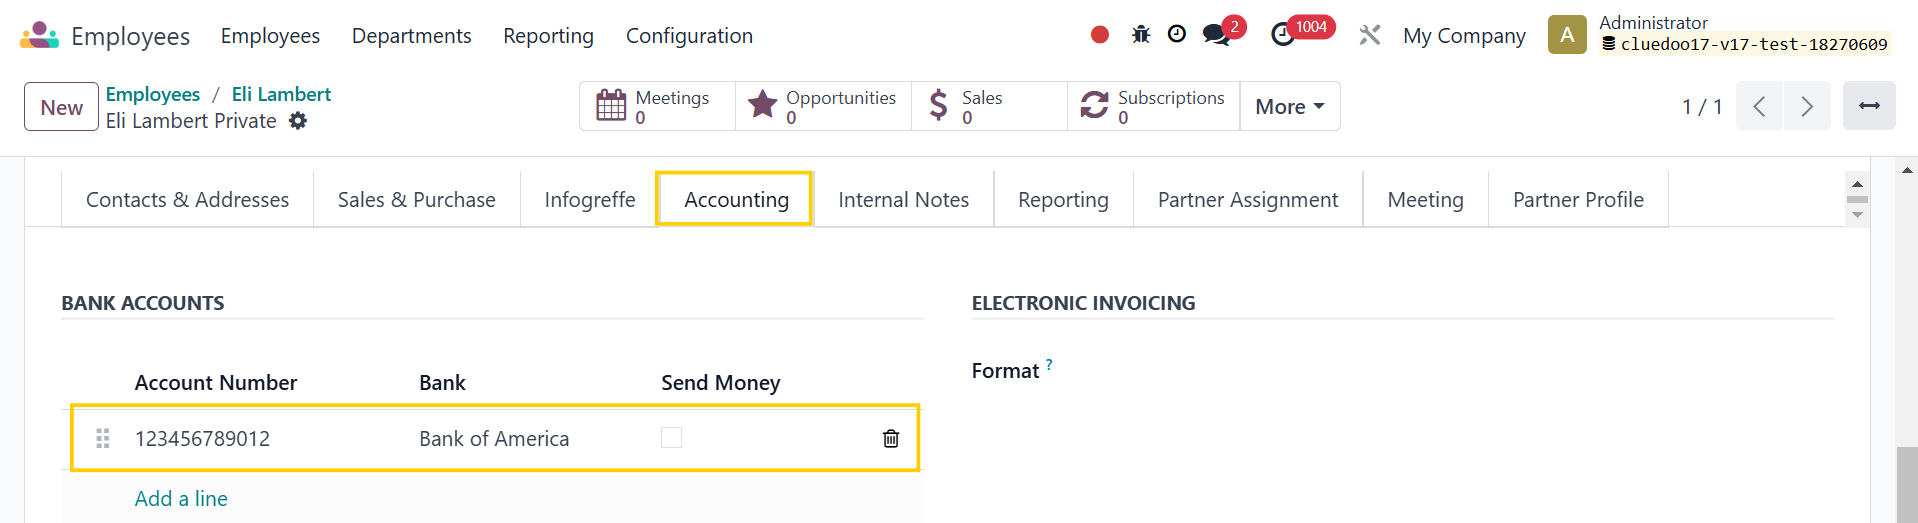
It will also be added to the Private Contact under Accounting > Bank accounts |
|
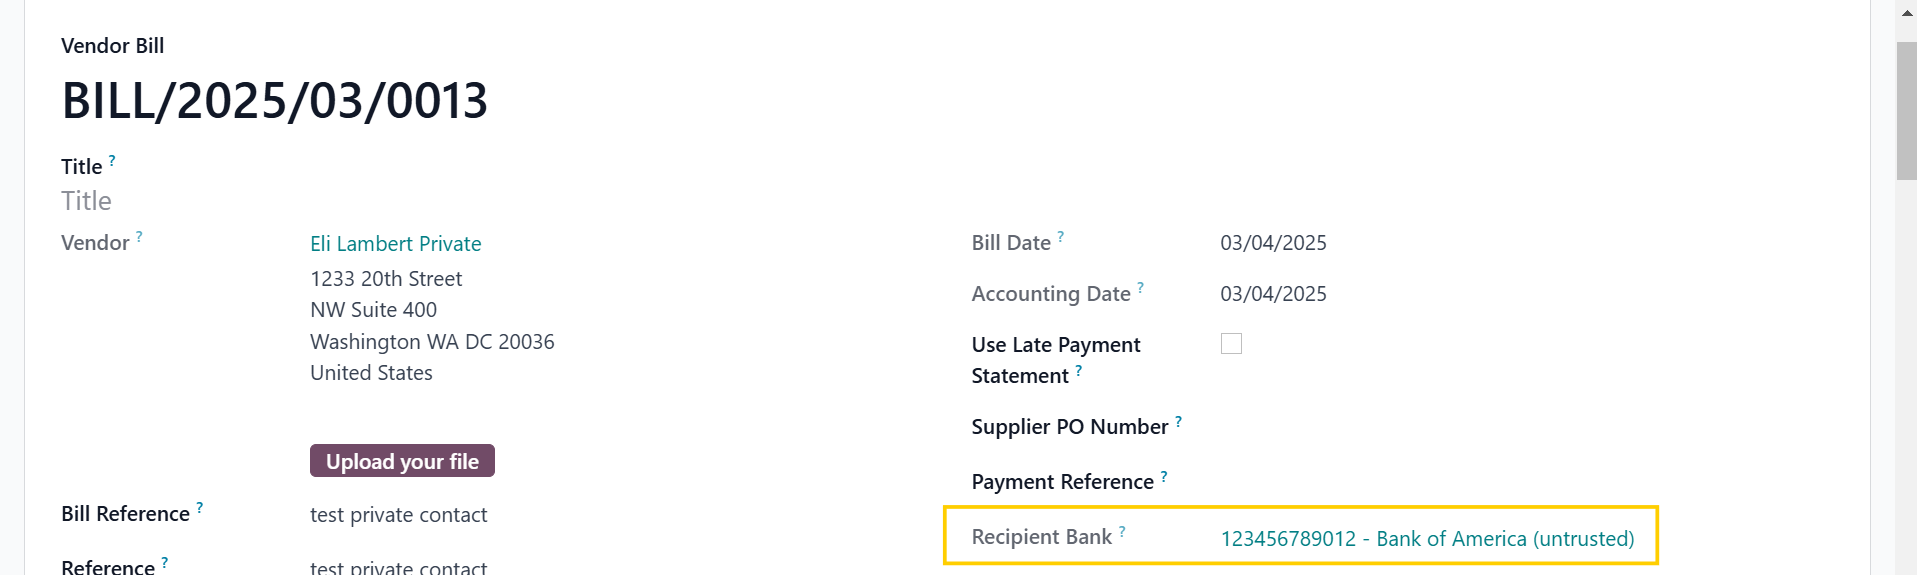
And can be used in expenses as the Recipient Bank |
|
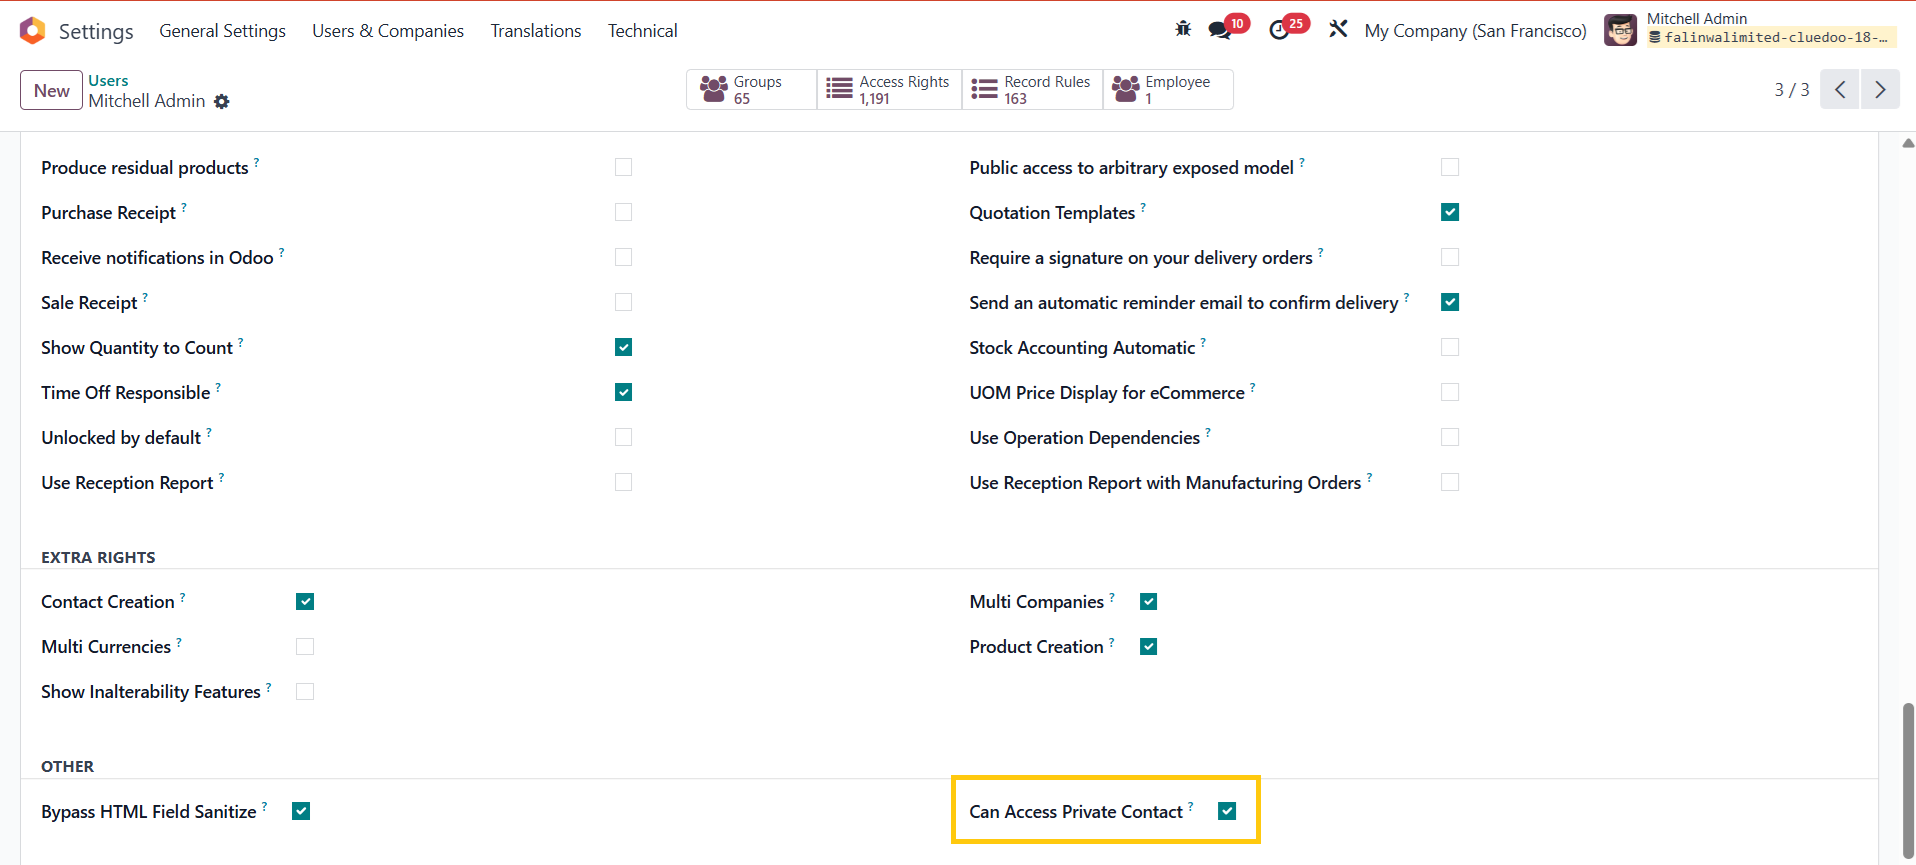
PERMISSION TO ACCESS PRIVATE CONTACTA. Have the right to access private contact1Go to Settings > Users > Access an internal user > Check the Can Access Private Contact checkbox > Save EX: Access Mitchell Admin user > Check the Can Access Private Contact checkbox |
|
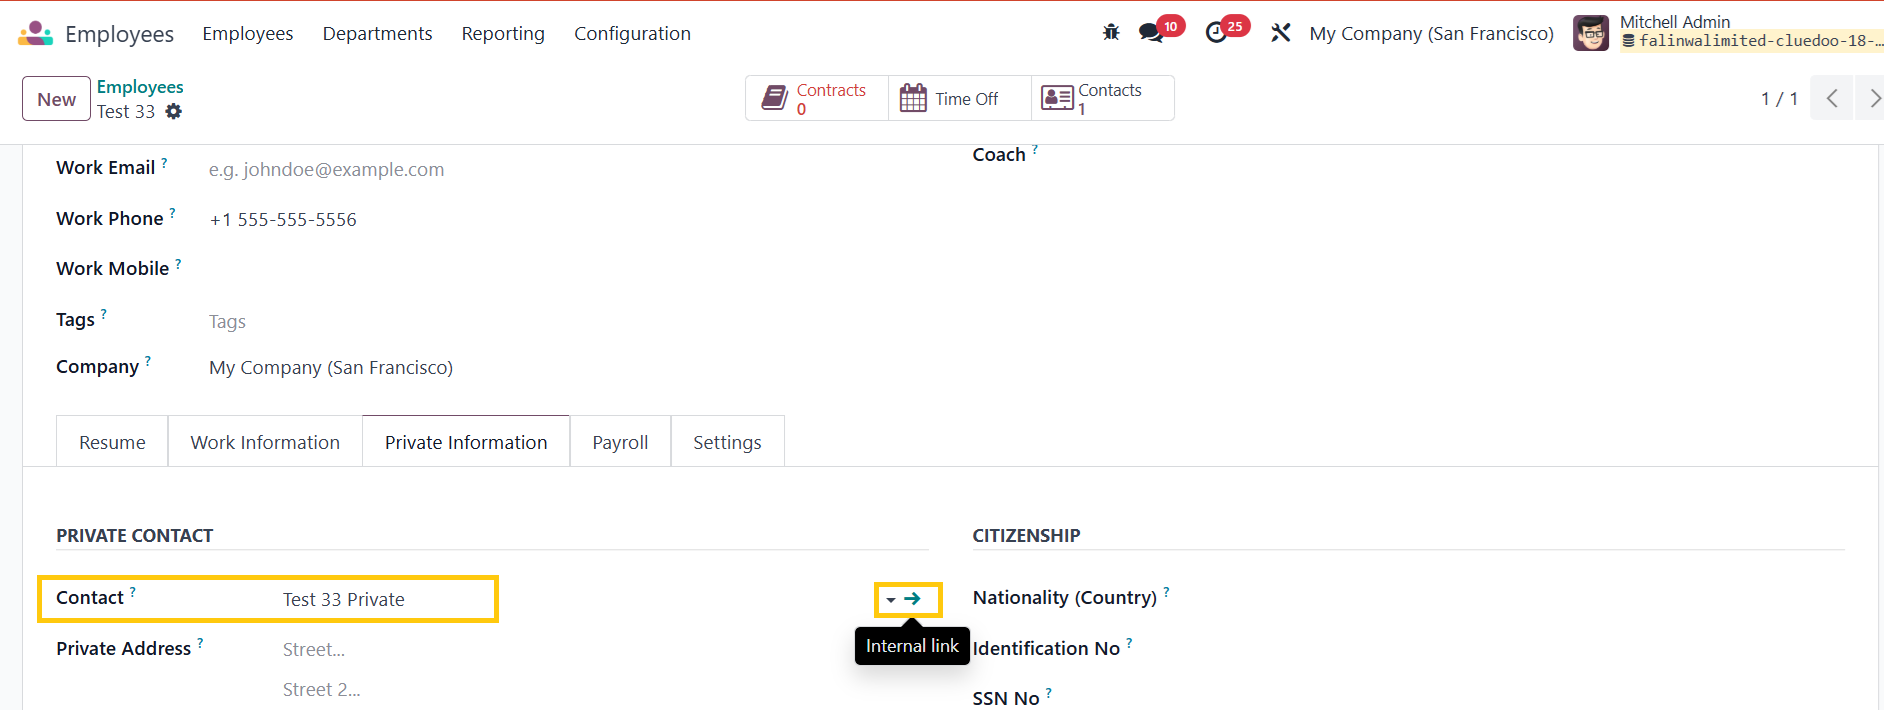
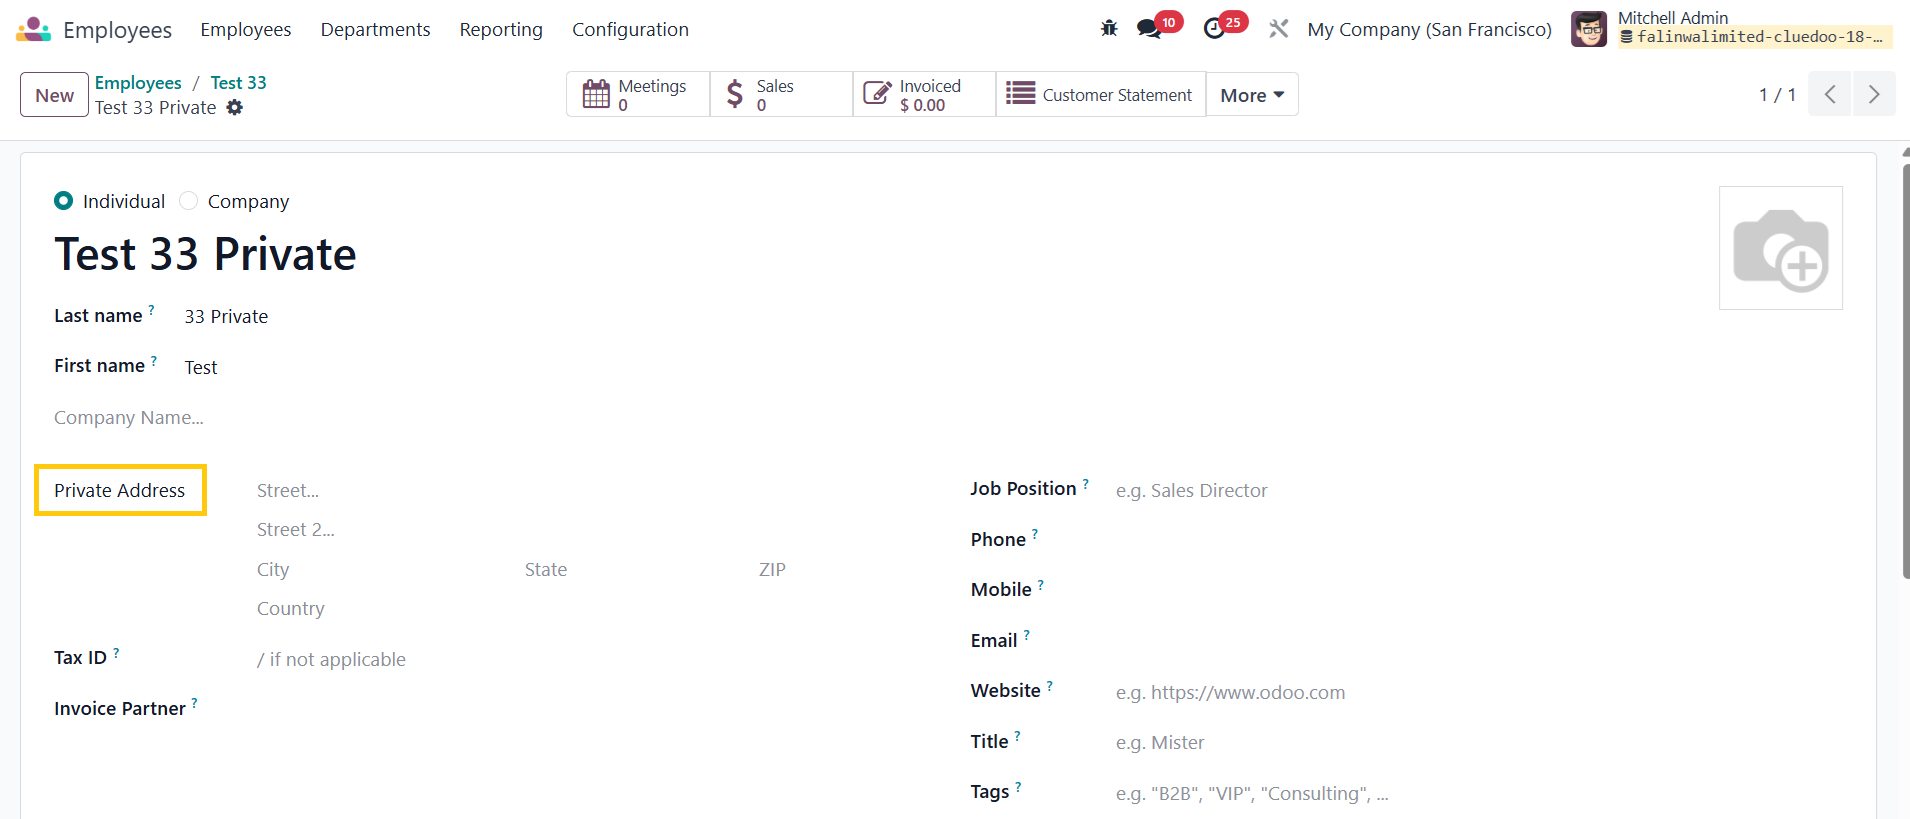
2Go to Employees > Create a new employee or Access an existing one > We can not only create/ edit the Private Contact but also access it by clicking on the Internal Link > In the Private Contact form, can see the Private Address is automatically configured |
|
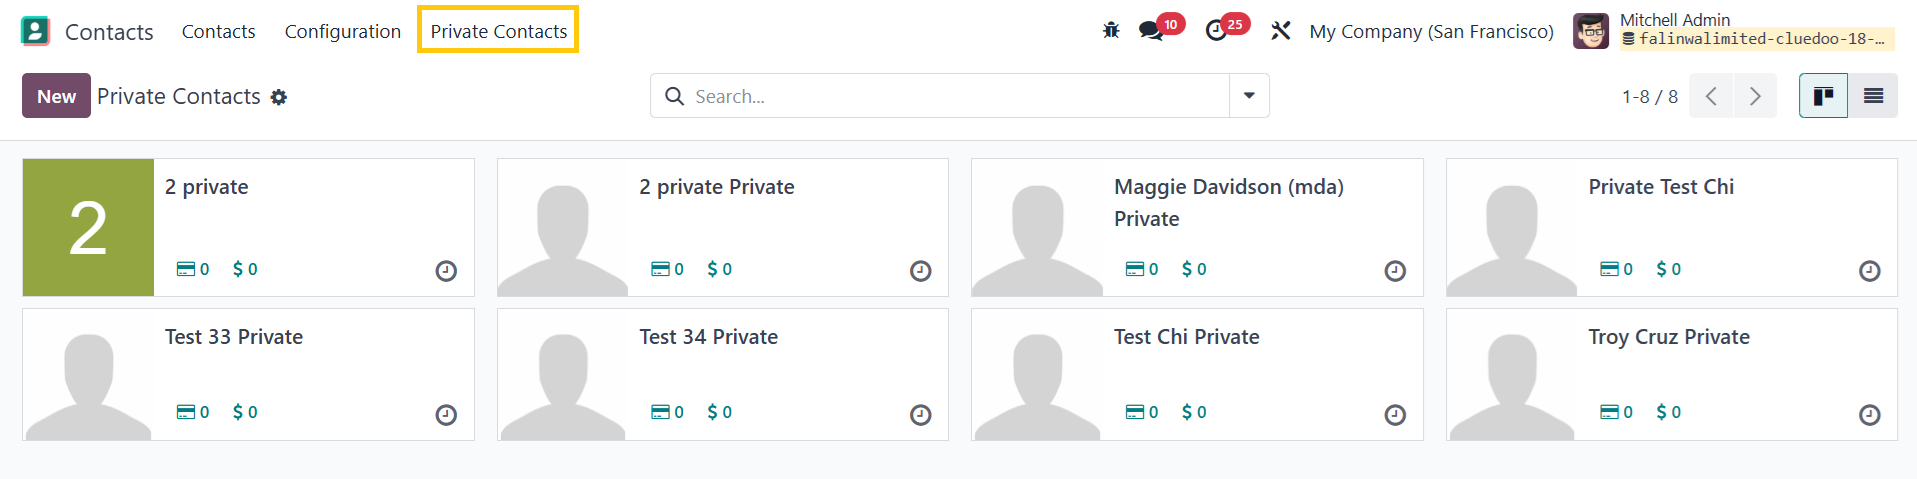
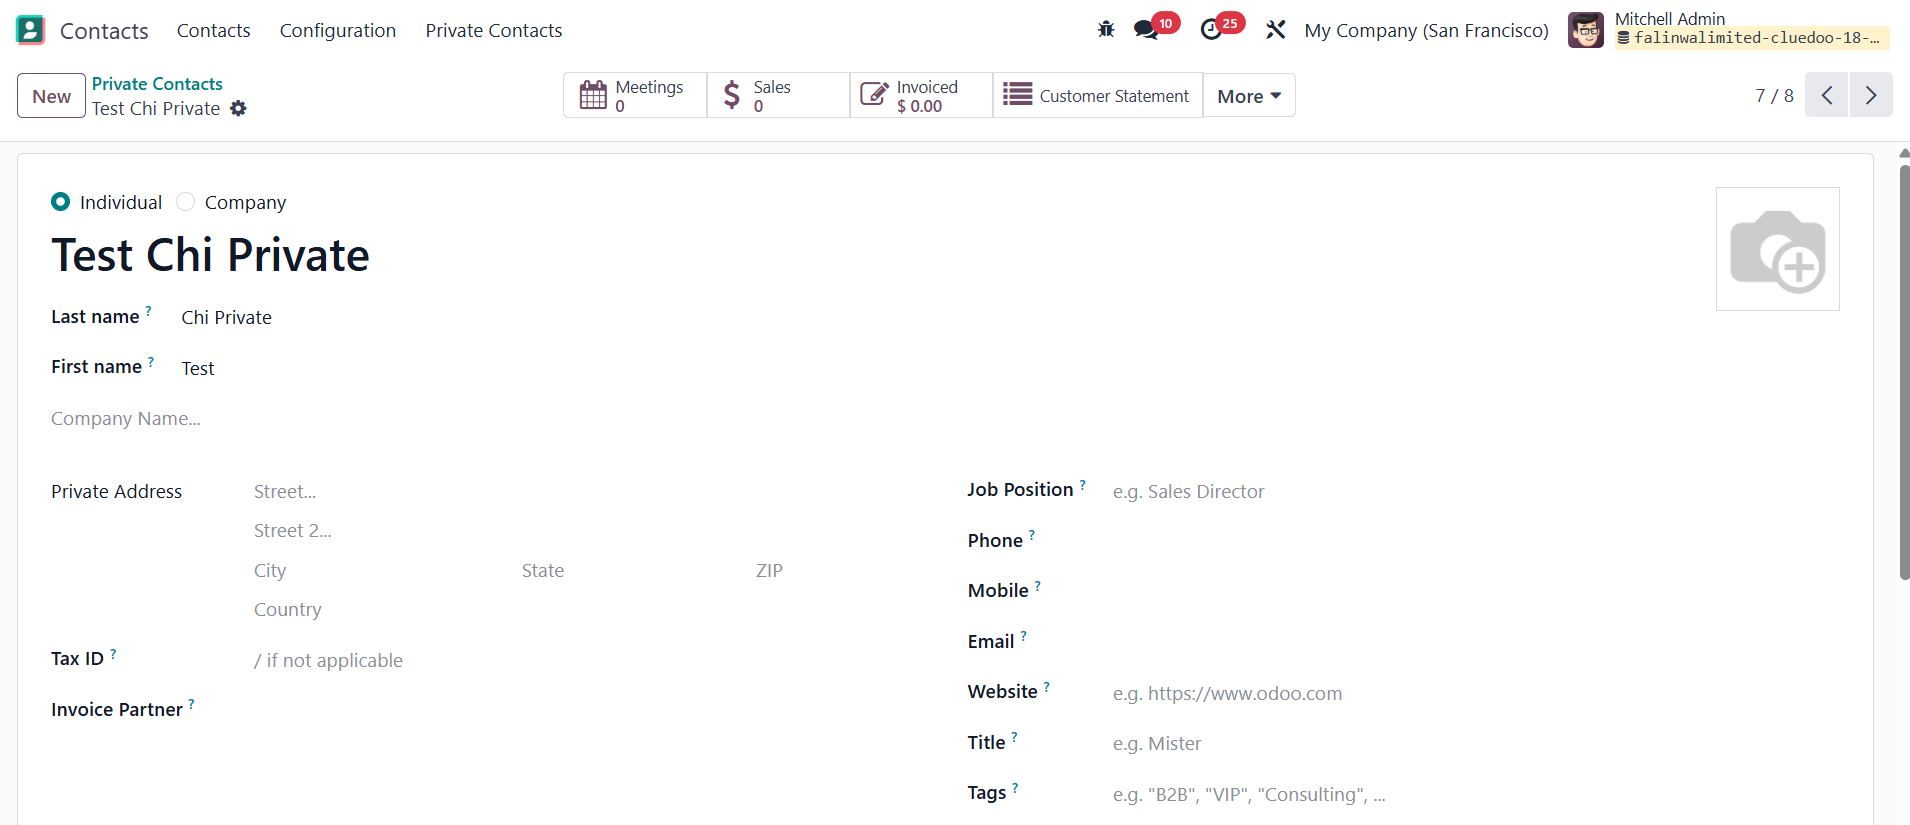
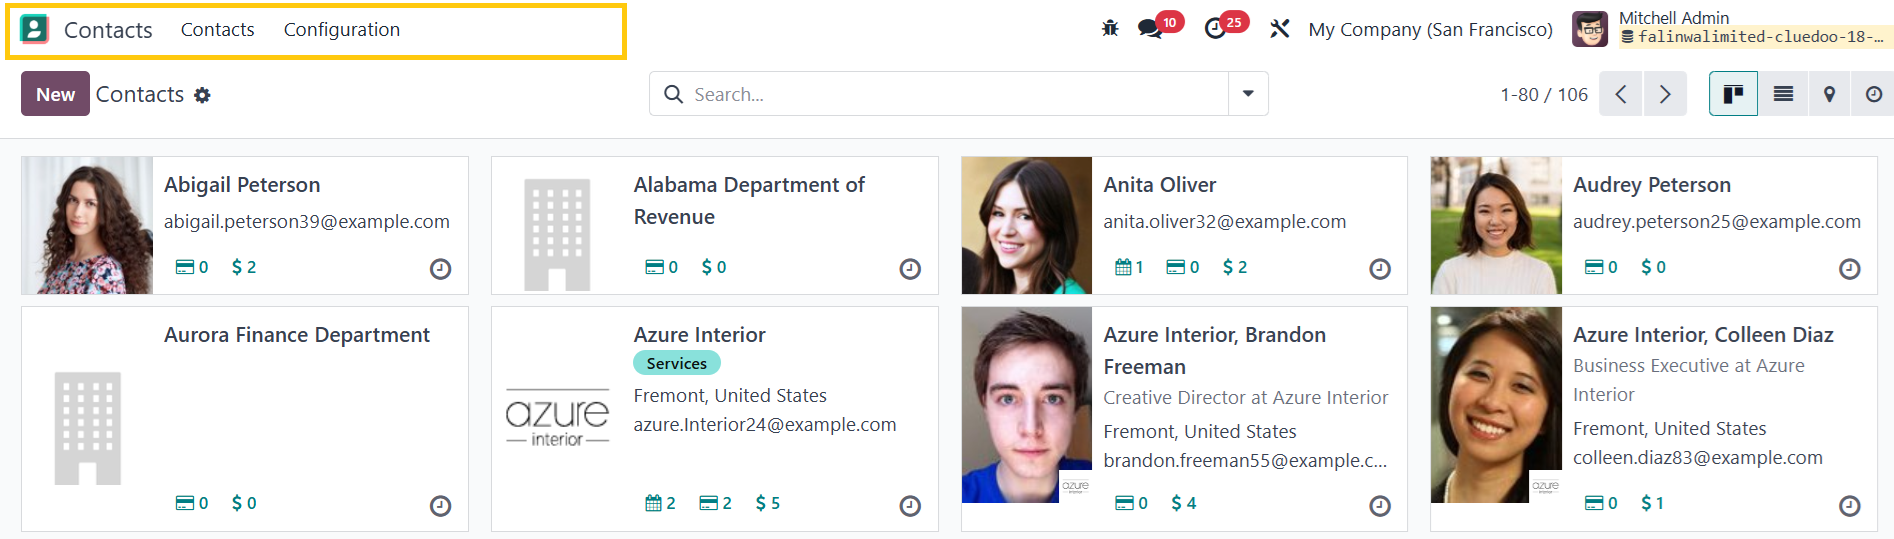
3Go to Contacts > Access Private Contacts on the Navigation Tab > Can see all created private contacts here > Access a specific private contact to see details |
|
B. No right to access private contact1Go to Settings > Users > Access an internal user > Uncheck the Can Access Private Contact checkbox > Save EX: Access Mitchell Admin user > Uncheck the Can Access Private Contact checkbox |
|
2Go to Employees > Access a particular employee > Can't do anything with Private Contact or access it |
|
3Go to Contacts > Not see Private Contacts on the Navigation Tab |
|